


 Deutsch
 English
 Español
 Français
 Italiano
 Polski

WELCOME TO
DAYS OF WONDER
Our company publishes top-quality, family-oriented board and online games that are easy to learn and fun to play.


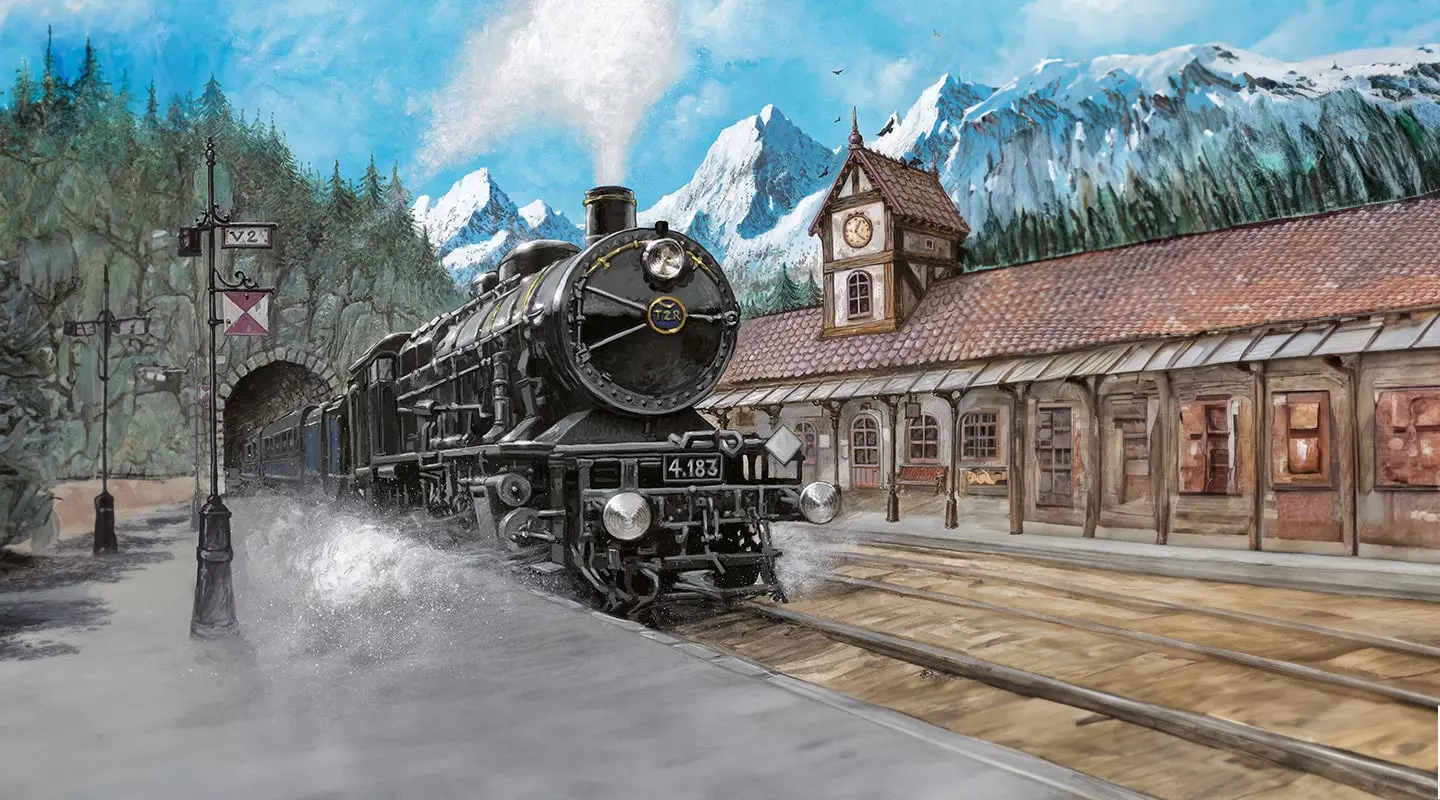
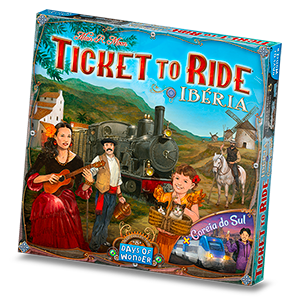
Ticket to Ride is a cross-country train adventure in which players collect and play matching train cards to claim railway routes connecting cities throughout North America.
The longer the routes, the more points they earn.
Additional points come to those who can fulfill their Destination Tickets by connecting two distant cities, and to the player who builds the longest continuous railway.


The countdown begins and sudden deep roars cut through the air as all the cars leap away from their starting lines; the Grand Prix is underway. Dust and wind rush past your helmet as you enter the first corner. Pushing your engine to the limit, you almost spin out but tightening your grip on the steering wheel you slide through the corner apex still in first. You got this!
Discover
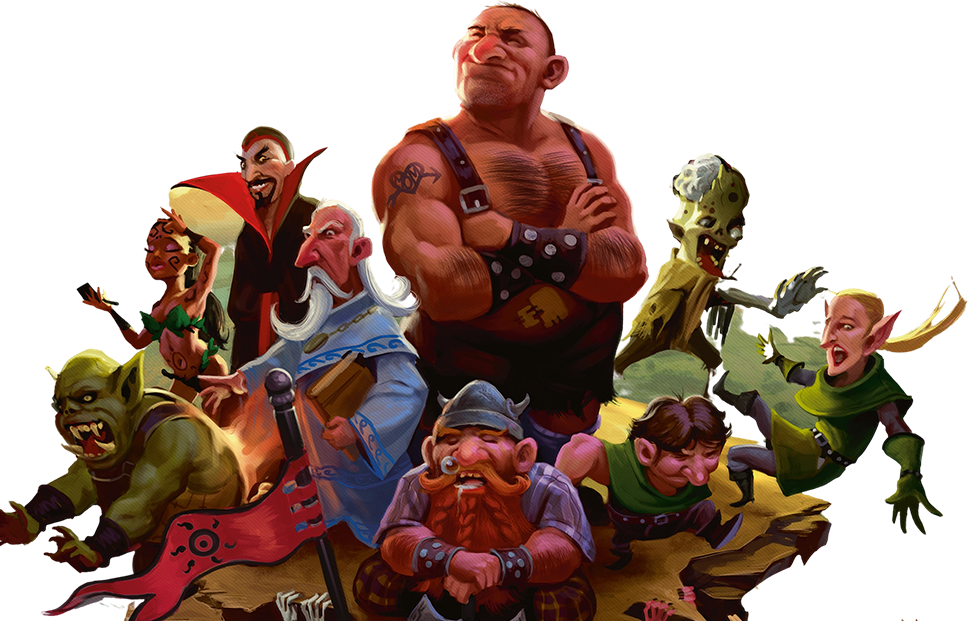


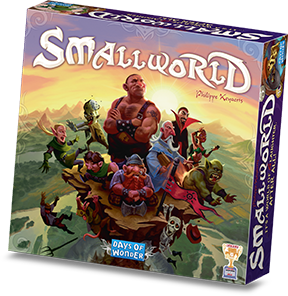
In Small World, players vie for conquest and control of a world that is simply too small to accommodate them all.
Discover


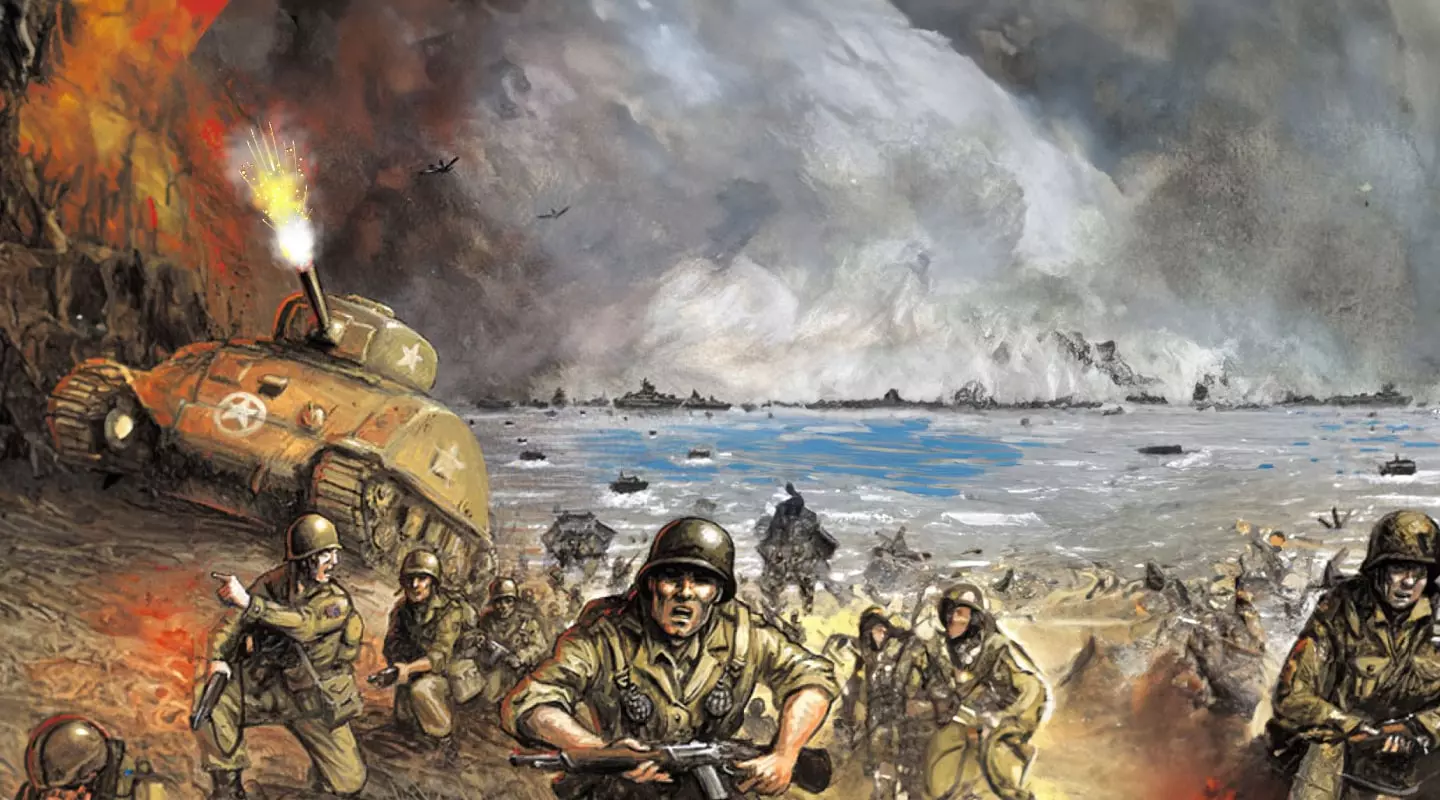

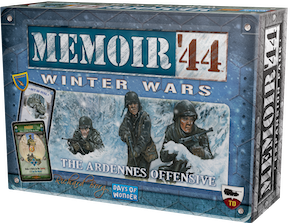
Published in collaboration with the Mission for the 60th Anniversary of the D-Day Landings & Liberation of France, Memoir ’44 is a uniquely fun, simple and engaging game.
Discover
More Games
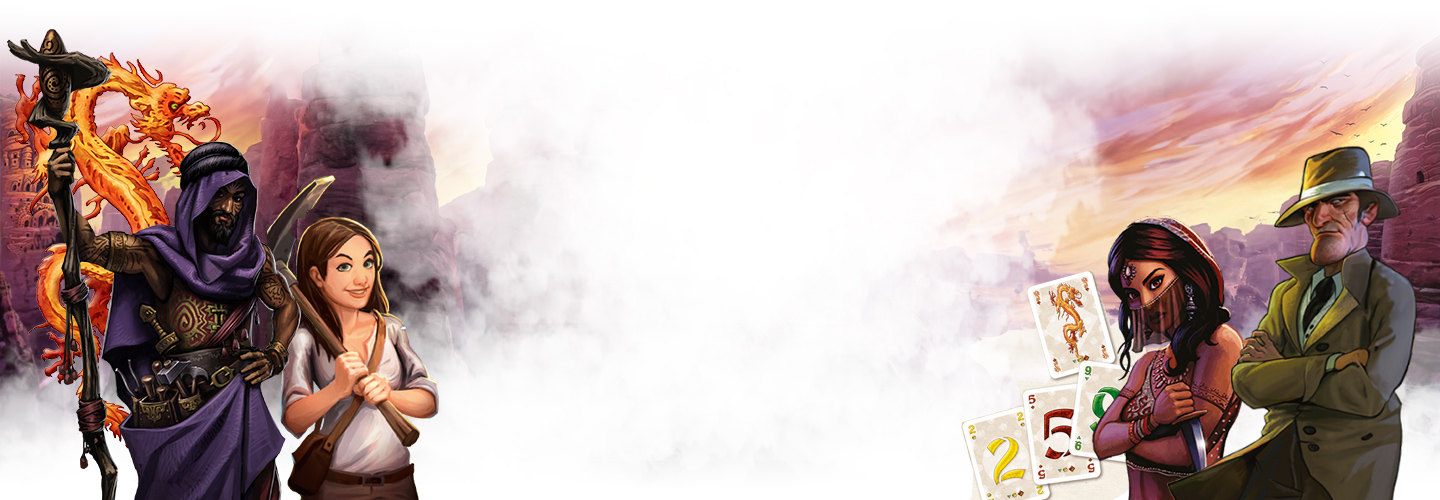
Discover Gang of four and Fives Tribes
for more aventures,
and all our other games…